Create a season
This guide walks you through setting up a new season for a league you own, using Fanager's 5-step create-season wizard. You'll fill in basics, sessions, teams, and billing, then confirm the summary. Every step is editable later, so you can get a draft saved in under a minute and refine it as your season takes shape.
Before you start
- You must be the owner of the league you're creating the season for. See Account types for what each role can do.
- The league itself must already exist. If you haven't created one yet, follow Create a league first.
- Have a season name, a rough start date, and a preferred match duration in mind. Everything is editable after creation — see Edit a season.
- Optional: if you plan to collect team registration fees, set up your payout account before this step. Until that's done, leave the Billing step on its default Free option. (Background: Account types.)
Steps
-
Open the
Leaguestab from the bottom navigation, then switch to theMy Leaguessub-tab. You'll see every league you own listed underManage, and the round blue "+" button sits in the lower-right.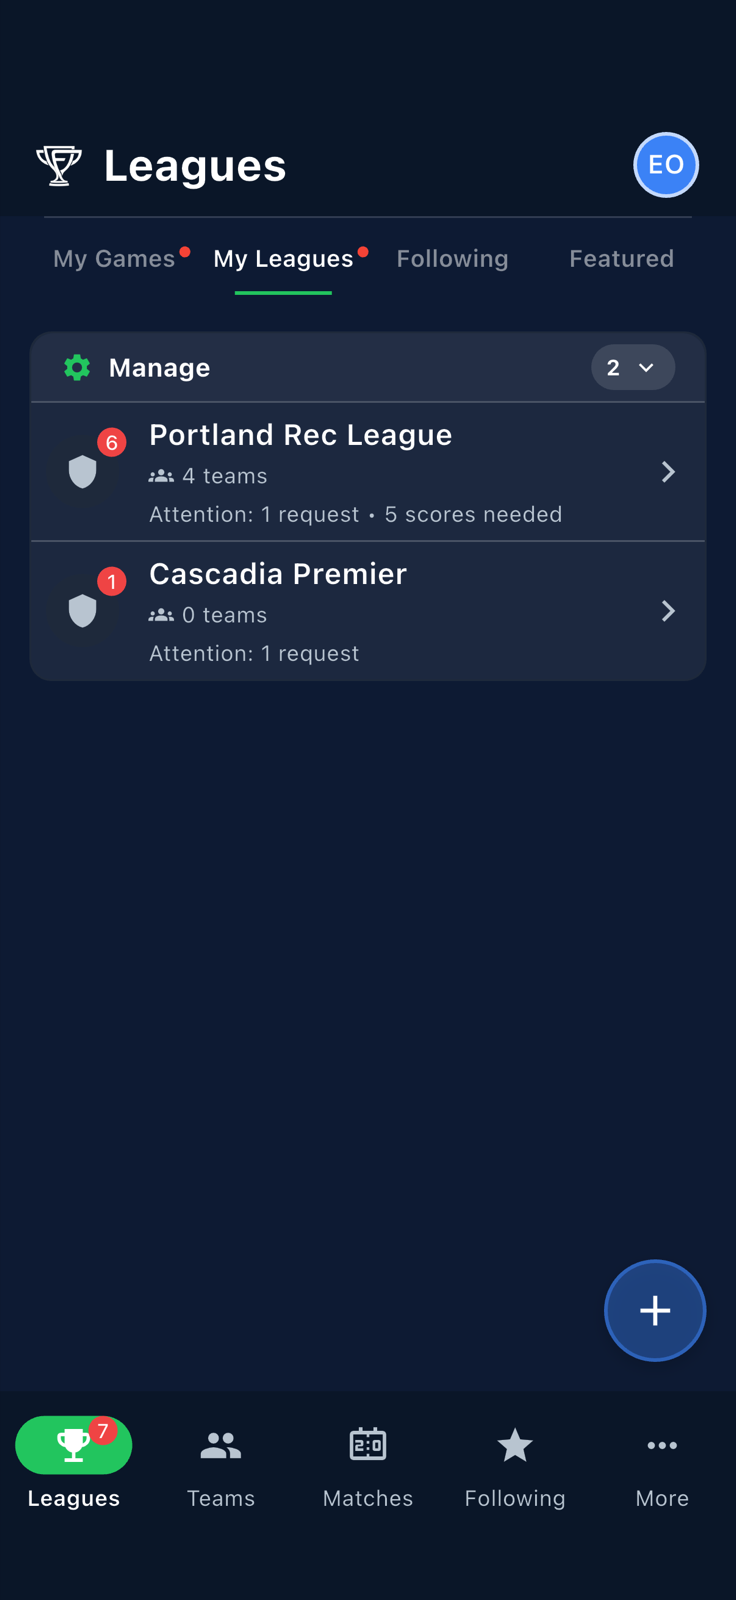
The My Leaguessub-tab listing your owned leagues, with the blue "+" button in the lower-right. -
Tap the blue "+" button. The speed-dial expands and stacks three options from top to bottom:
Create Team,Create Season, andCreate League. TapCreate Season.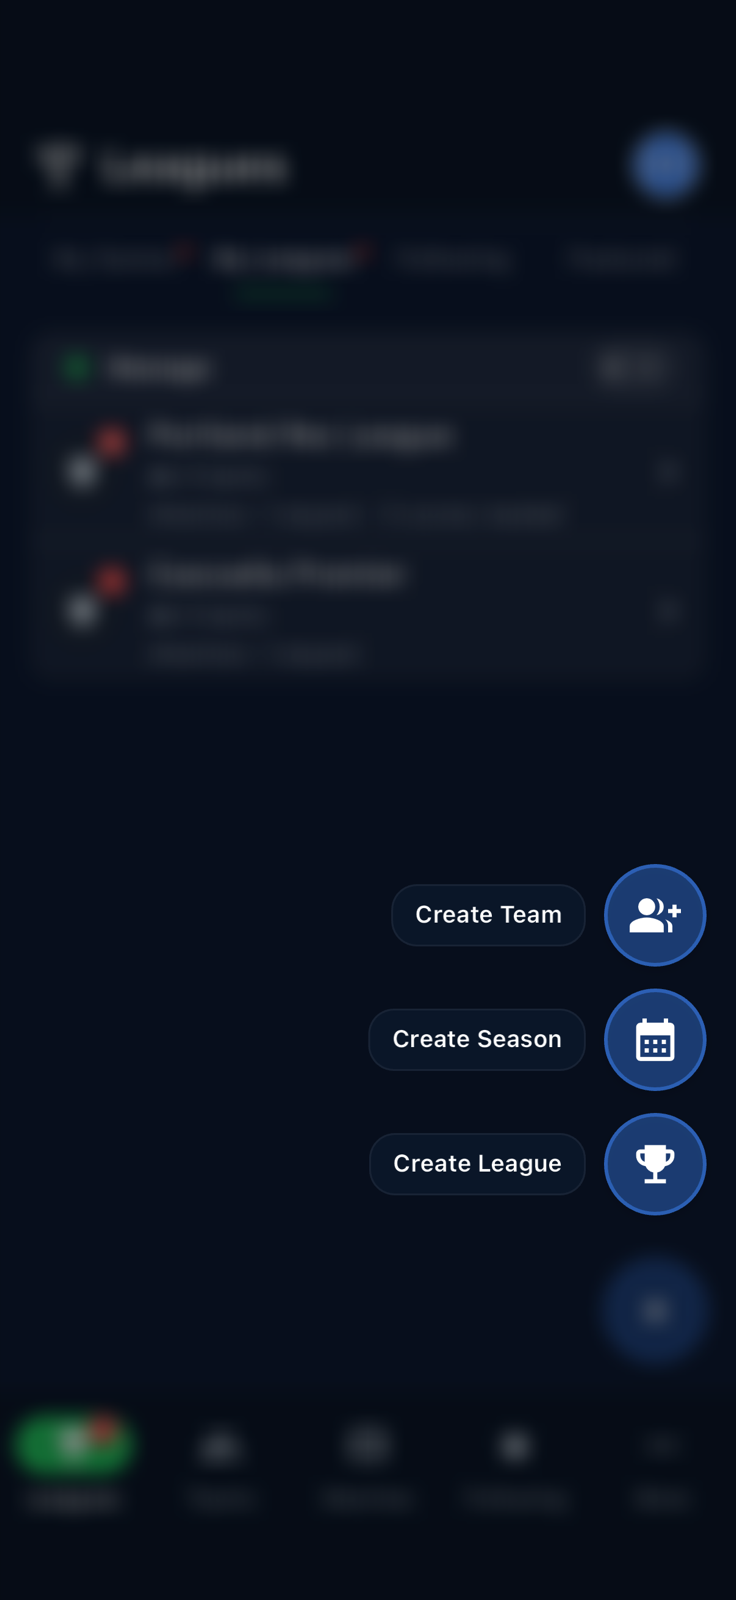
The speed-dial expanded over the My Leagueslist. TapCreate Season. -
You land on the
Create Seasonscreen. It has two sections:Select Leagueat the top andChoose Season Typebelow it (with cards forRegular SeasonandTournament). TheNextbutton at the bottom is greyed out until you pick a league.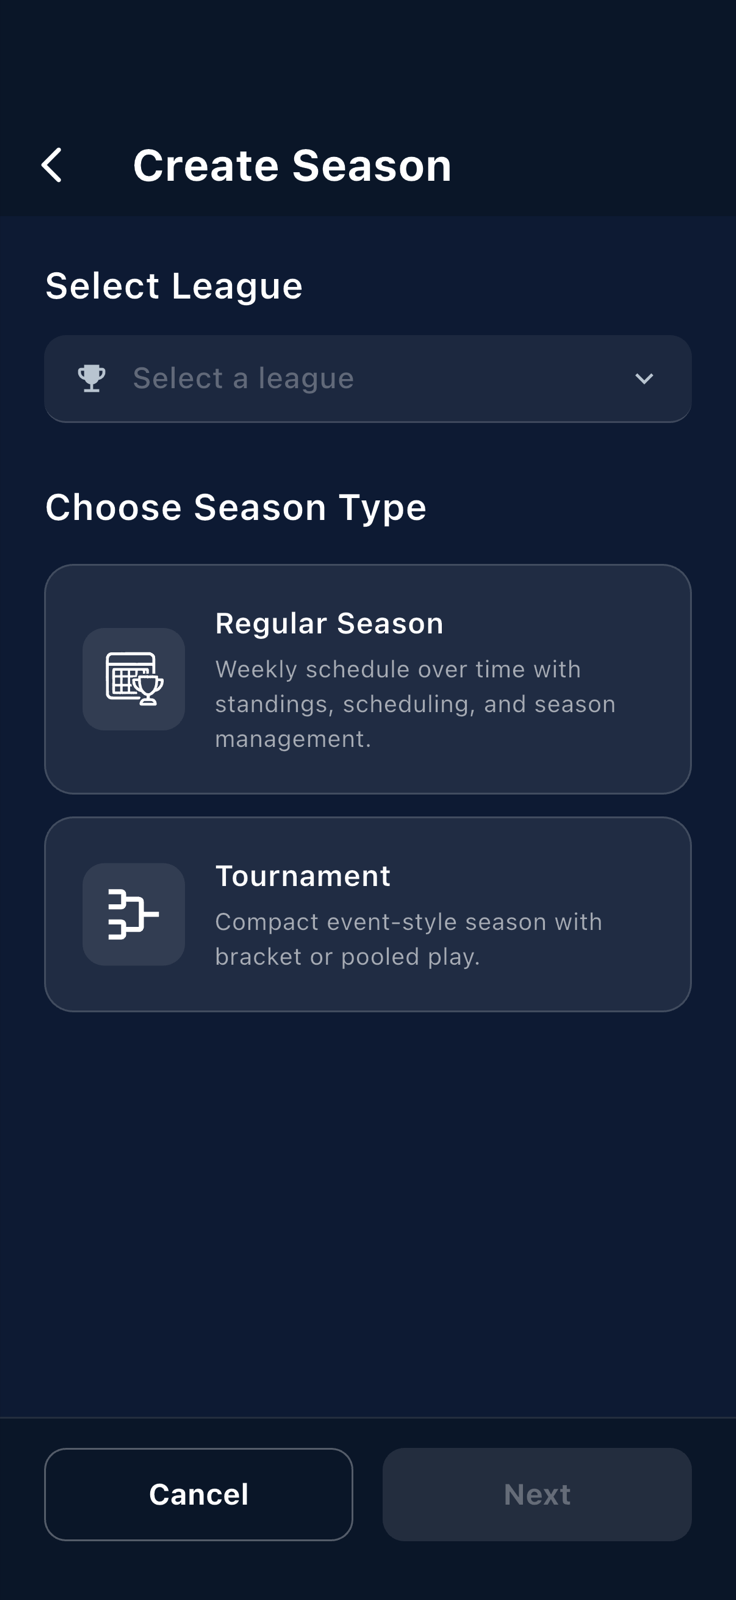
The Create Seasonscreen on first load. Next is disabled until a league is picked. -
Tap the
Leaguedropdown to see your owned leagues. Pick the one you're creating the season in.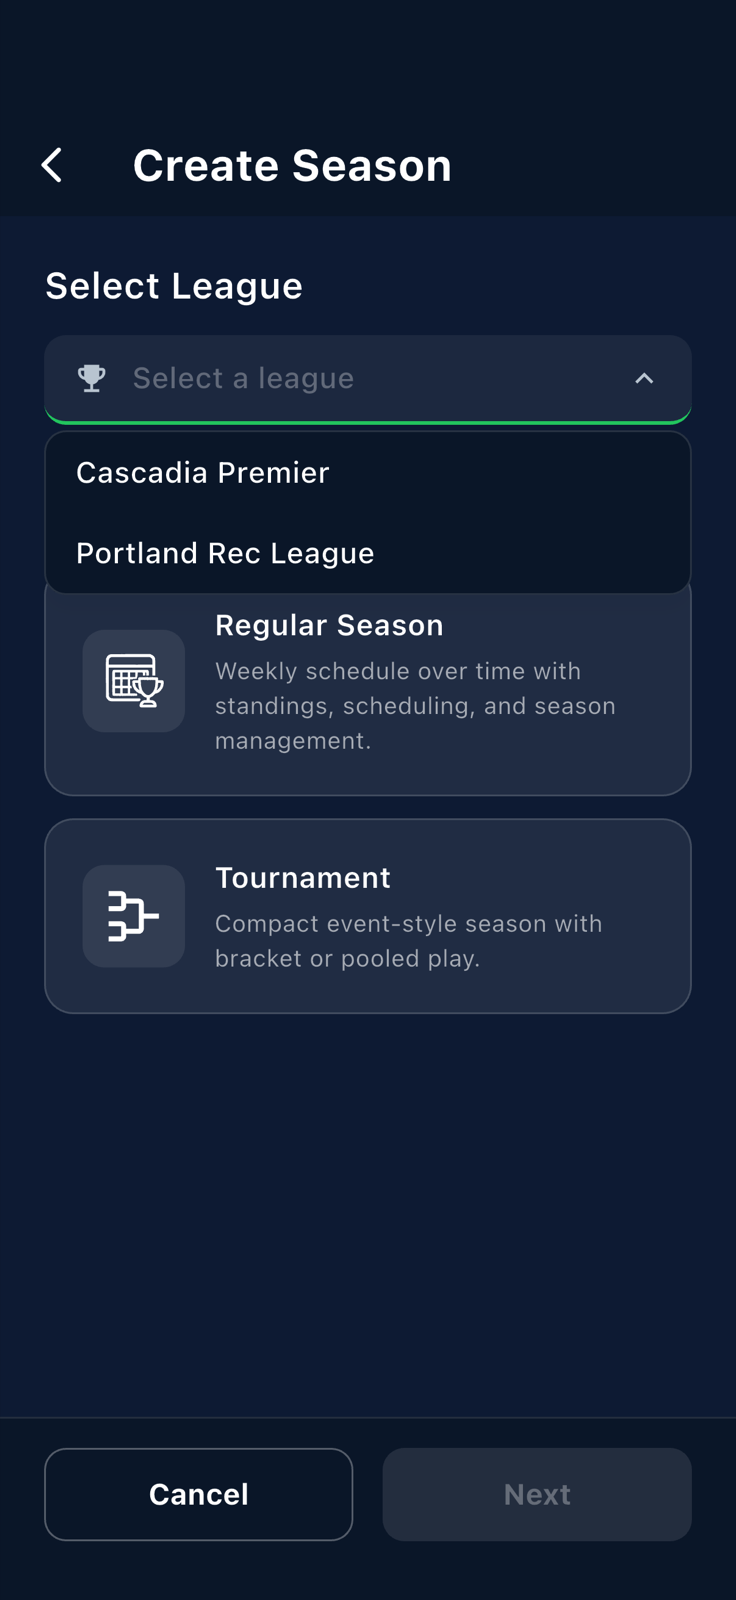
The dropdown lists every league you own. -
With your league picked, tap the
Regular Seasoncard for a weekly-schedule season with standings. (For a bracket-style event instead, pickTournamentand switch to Create a tournament.) A checkmark appears on the selected card and theNextbutton activates. TapNext.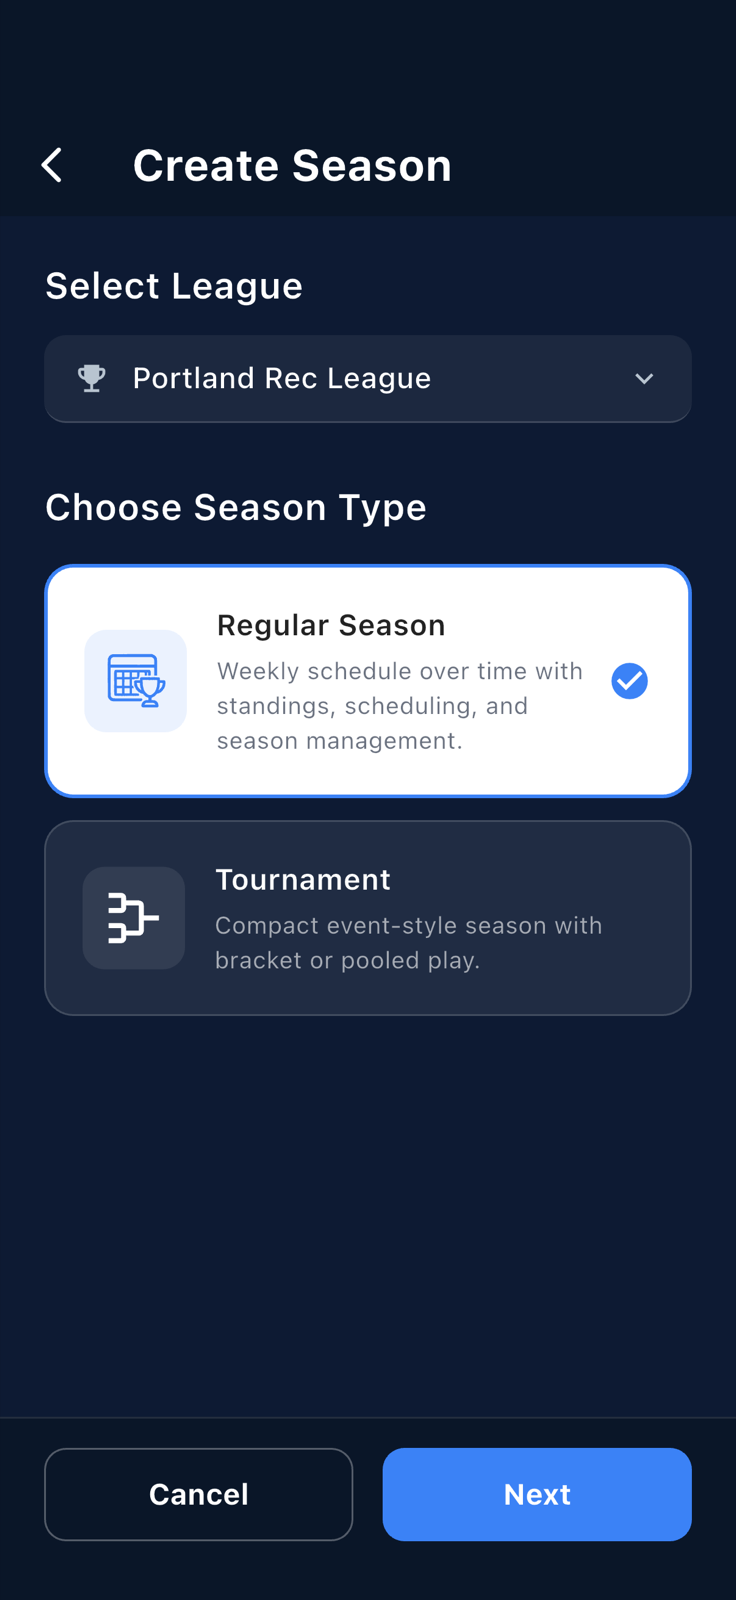
League picked; Regular Seasonshows a checkmark;Nextis now active. -
You're now in step 1 of the 5-step wizard:
Basics. A locked summary card at the top readsCreating season for <your league>so you can't accidentally swap leagues mid-wizard. Fill inSeason Name(e.g. "Spring 2026"); confirm or adjust the format (defaults toPointsround-robin), start and end dates, and match duration. TapNext.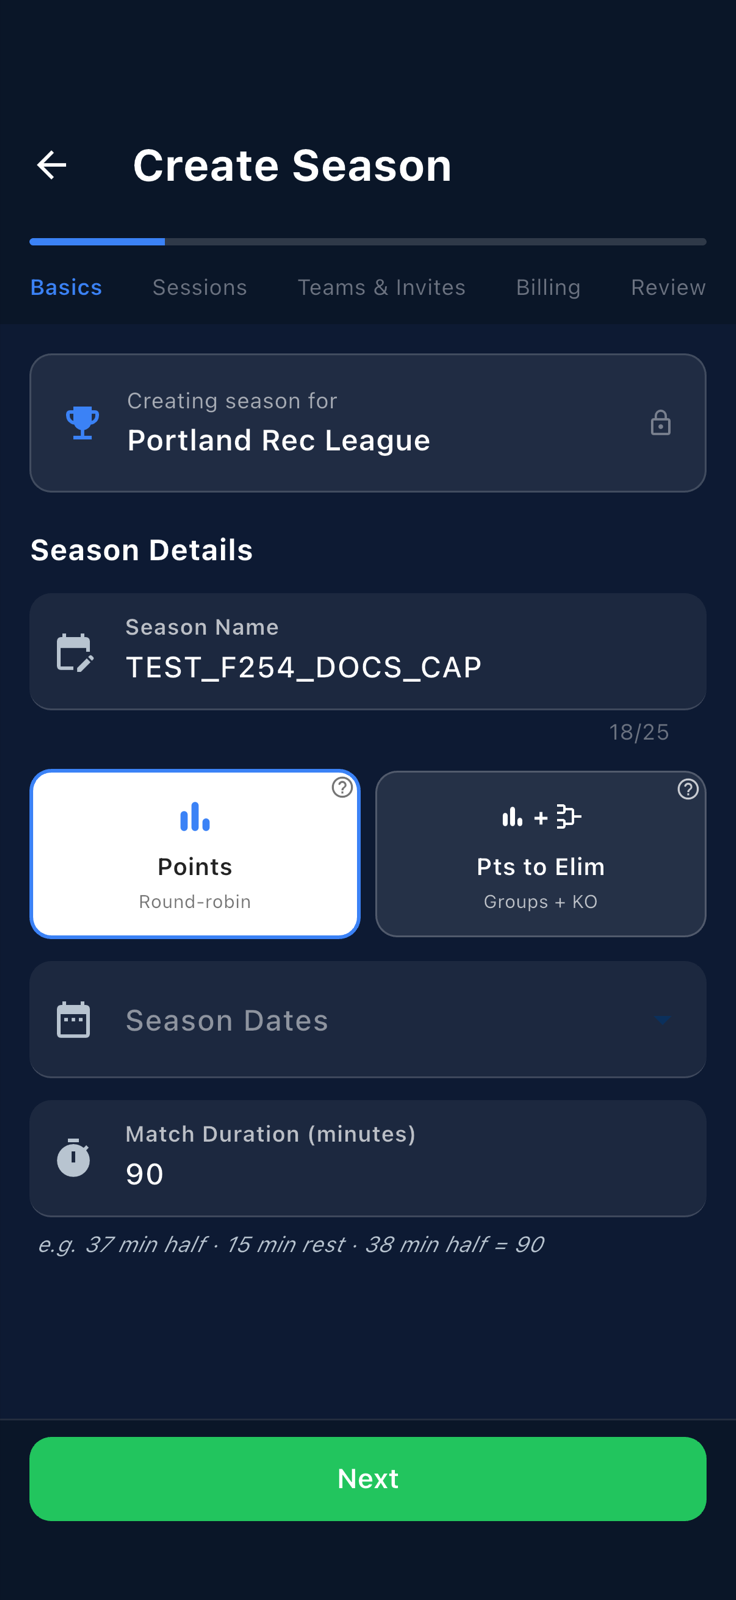
The Basicsstep with the locked league summary,Season Name, and format/dates/duration fields. -
Sessionsis where weekly time slots and blackout dates live. You can leave it empty for now and add slots later — see Add weekly time slots. TapNext.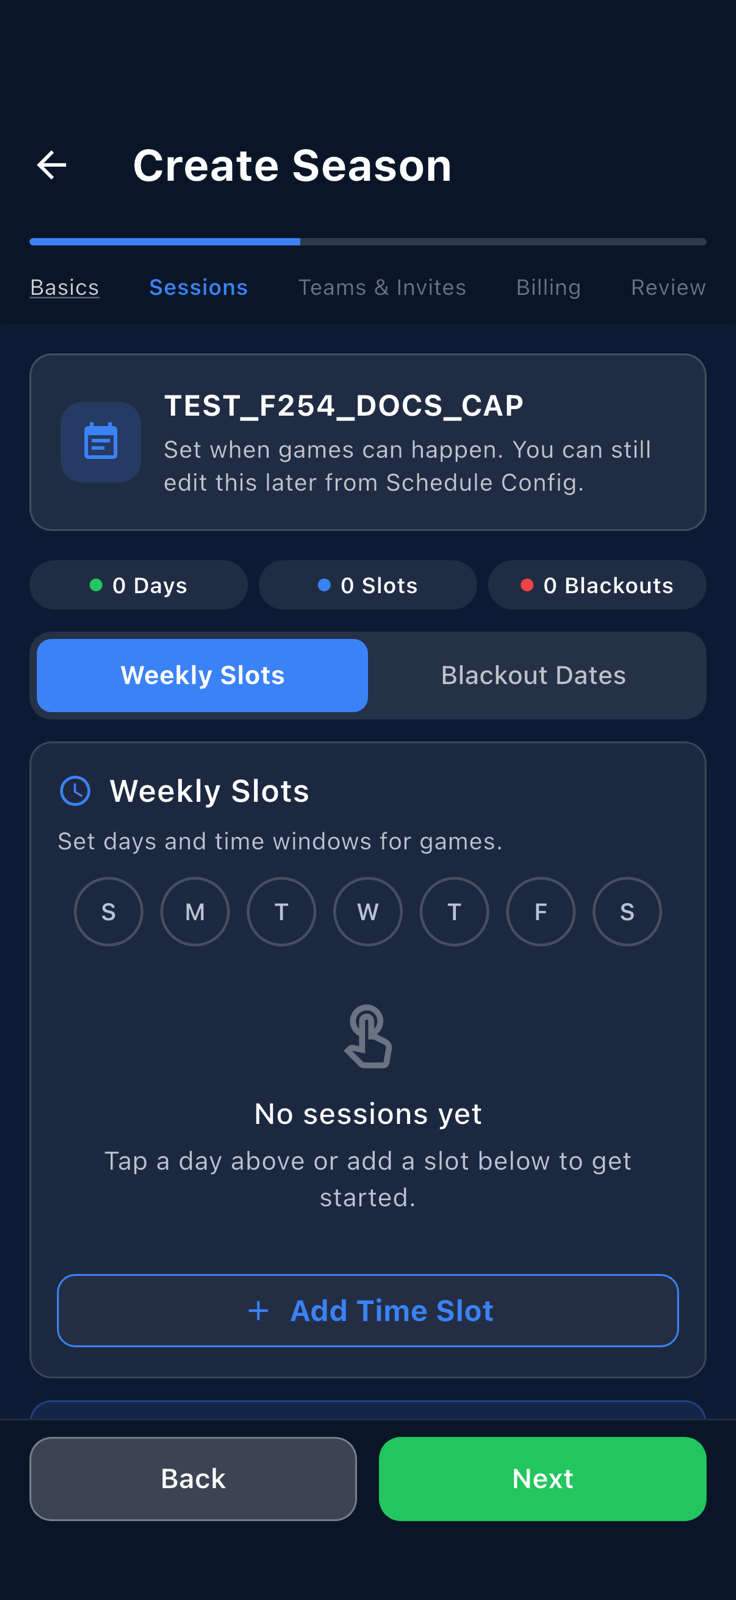
The Sessionsstep (40% progress) — empty slots are allowed. -
Teams & Inviteslets you pre-add owned or managed teams, or invite a team manager up front. You can skip this and invite teams after the season exists. TapNext.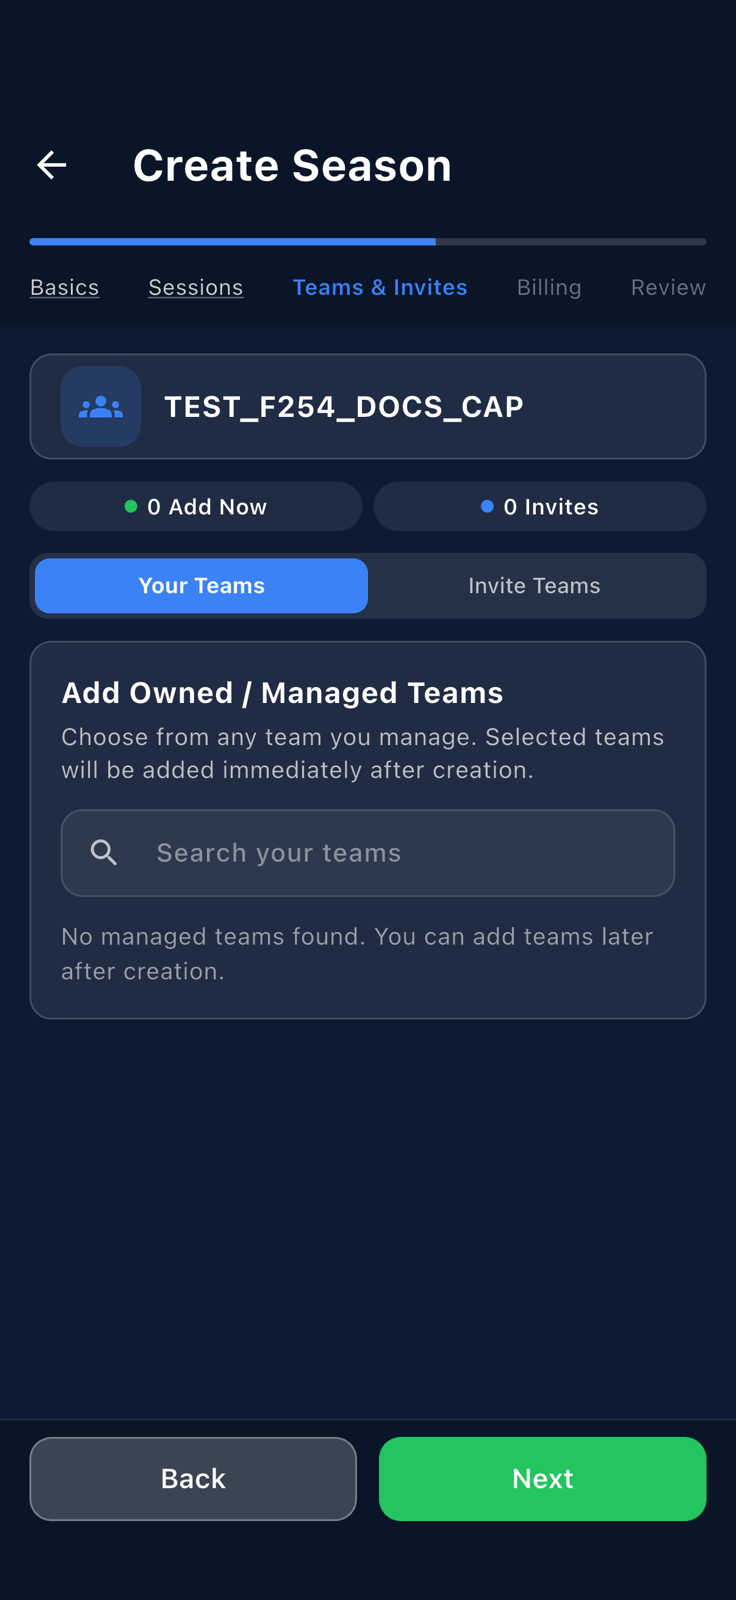
The Teams & Invitesstep (60% progress). -
Billingdefaults toFree registration. Keep it free if you haven't set up payouts; you can switch to paid later. TapNext.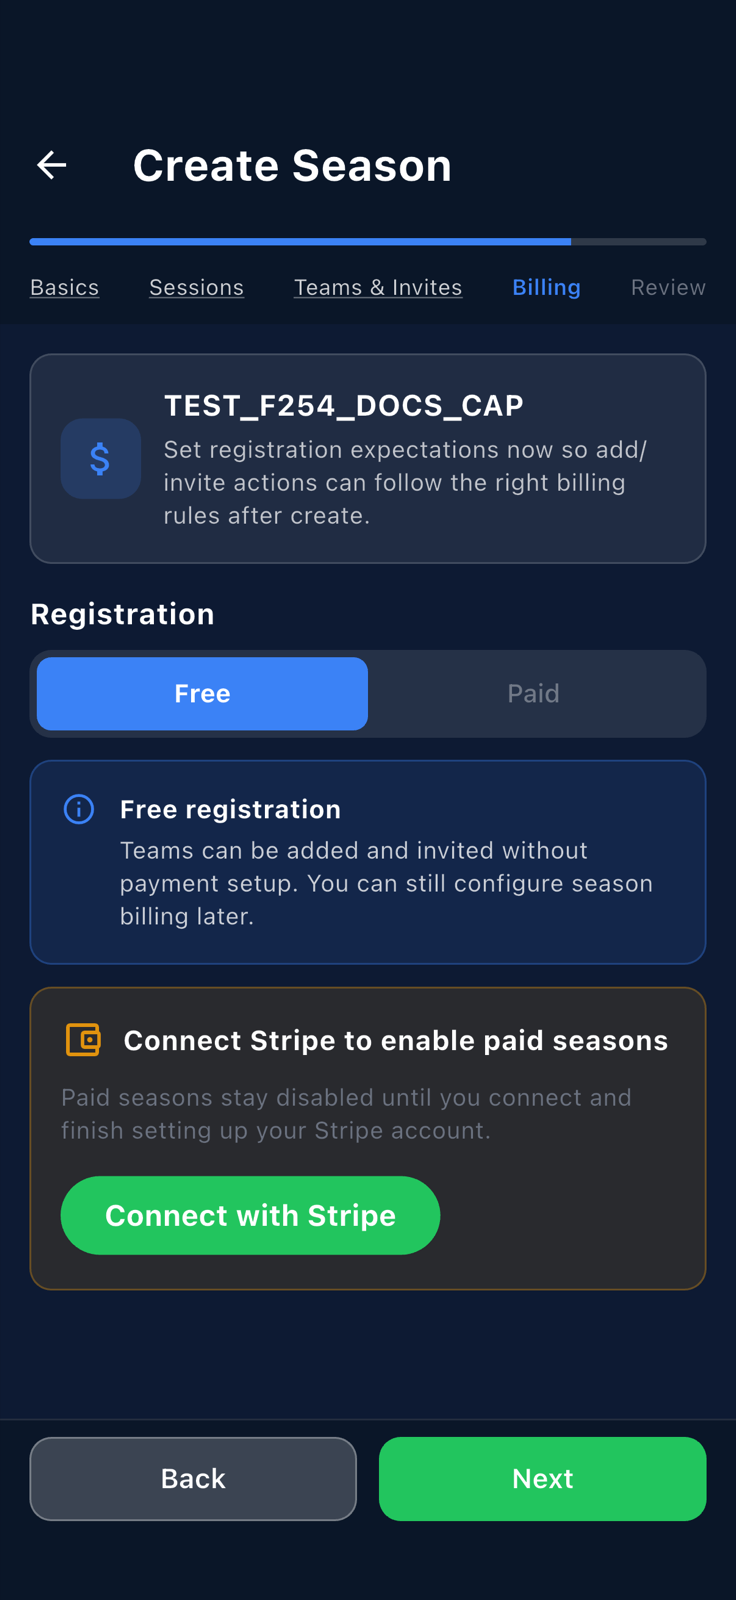
The Billingstep (80% progress) withFree registrationselected. -
On the final
Reviewstep, check theWhat Happens After Createsummary. The primary button now readsCreate Seasoninstead ofNext— tap it to save.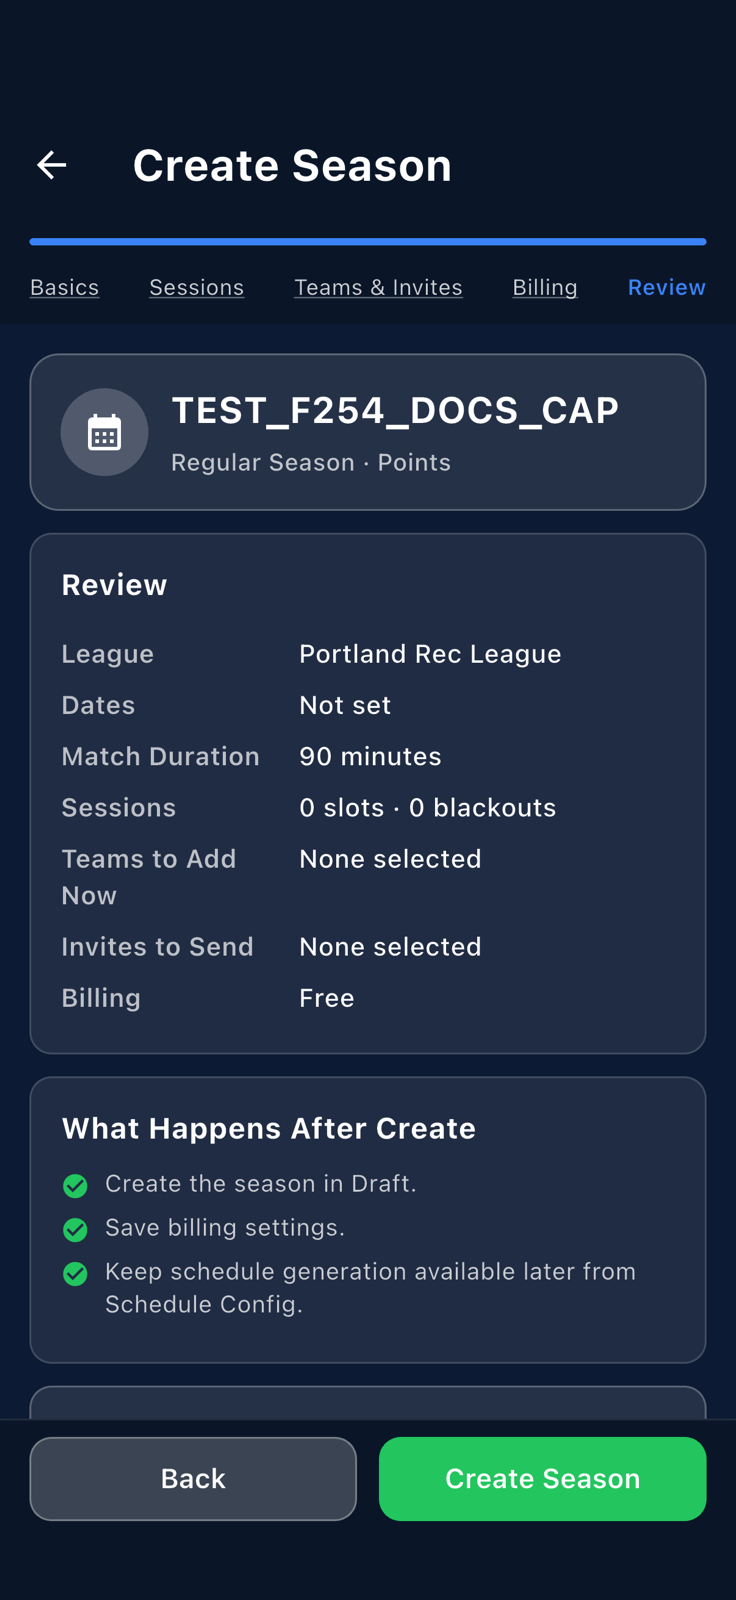
The Reviewstep (100% progress); the primary button now readsCreate Season. -
A
Season Createddialog appears on top of the Review screen. It confirms the season is saved as a draft, with sessions and billing recorded. TapView Seasonto open the new season's detail page and start configuring slots, teams, and the schedule.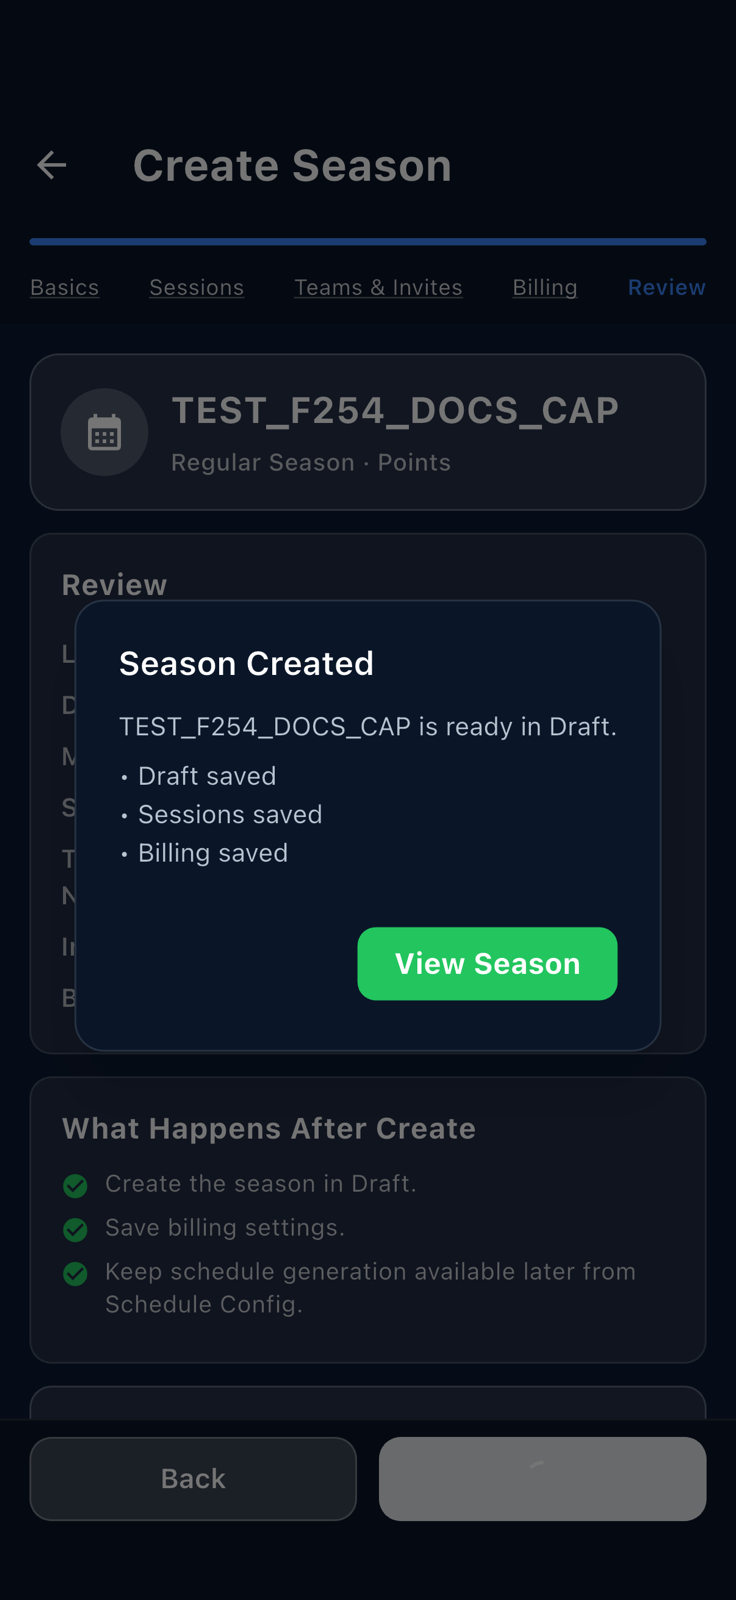
The Season Createddialog over the Review screen. TapView Seasonto continue.